High Capacity Multifunction Pistol Safe Instruction Manual (RP19002)
Backup Key Access
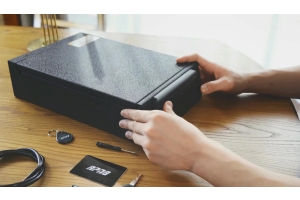
- To get started, insert one of your upper layer backup keys into the keyhole at the front of the safe. Push key in and turn the key 90 degrees clockwise to open the safe.
- Remove crate foam insert and locate the keyhole in the bottom of the upper layer. Insert one of the bottom drawer backup keys, and rotate the key 60 degrees anticlockwise to open the bottom drawer.
Battery Installation
- With the safe open remove crate foam insert. Locate the battery compartment cover in the bottom of the upper layer.
- Open the battery cover and insert the 4 AA alkaline batteries (not included) into the battery compartment.
- When the batteries are inserted correctly you will hear a short beep.
- Once you hear the beep, place the battery cover. You are now ready to program your safe.
IMPORTANT:
- Use the NEW AA alkaline battery. Using other batteries may cause unusable conditions. New batteries can not be used with old batteries together.
- Your RPNB® safe will automatically lock when you fully close the lid.
External Power Supply
When the batteries are depleted, you can plug a micro-USB cable (not included) into the micro-USB receiving jack located at the side of backlit keypad and connect to a standard micro-USB port or wall outlet using the AC power adapter as an external power supply.
Master Code Programming
First time users should change the default code as soon as possible to prevent unauthorized access to your safe, so it should be kept confidential.
Master Code Programming for the Upper Layer
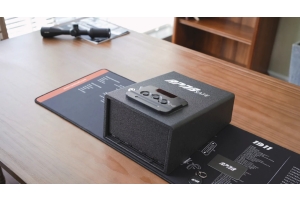
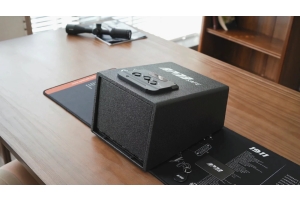
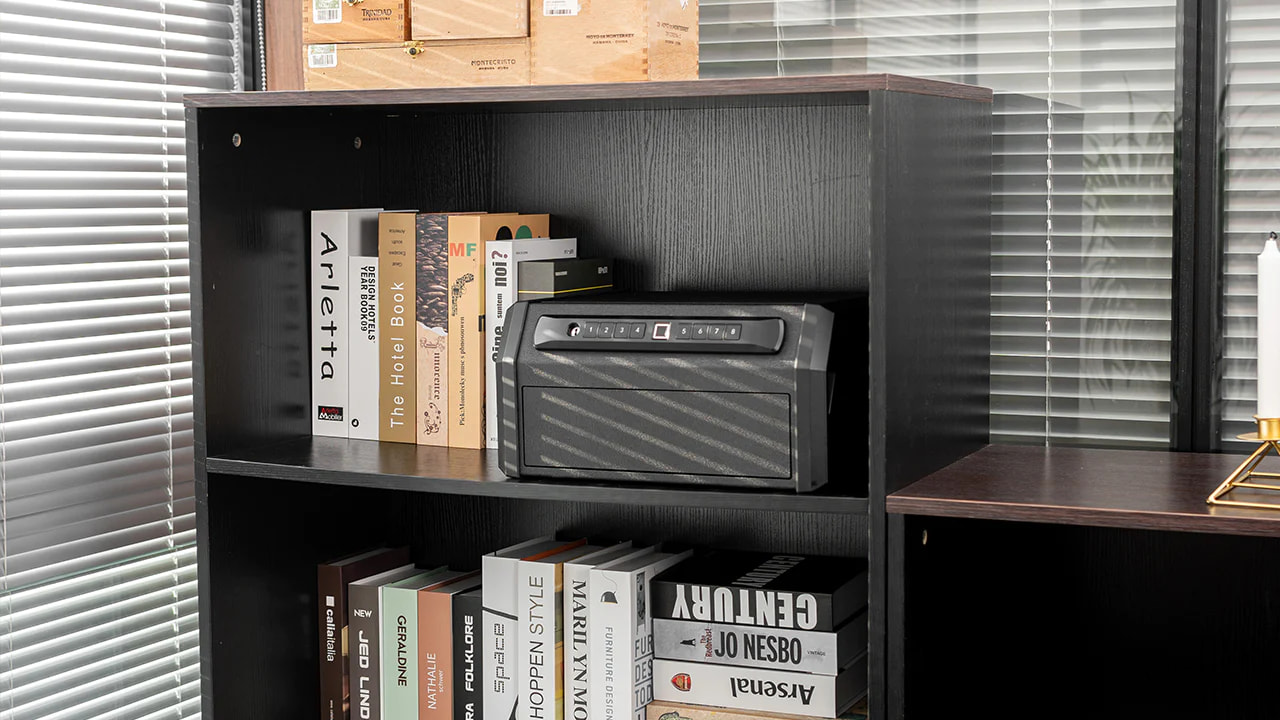
- With the safe open, press and hold the “PROGRAM”button (3 seconds), all keys (1-8) will light up once with one beep.
- Enter your NEW master code for the upper layer(any number from 1-4).
- Press the“PROGRAM” button once and release it, all keys (1-8) will light up twice with the double beeps. This tone confirms that the password has been reset.
- Now test the code, if you make a mistake and the new code will not work, simply start over with step 2.
Master Code Programming for the Bottom Drawer
- With the safe open, press and hold the“PROGRAM” button (3 seconds), all keys (1-8) will light up once with one beep.
- Enter your NEW master code for the bottom drawer (any number from 5-8).
- Press the“PROGRAM” button once and release it, all keys (1-8) will light up twice with the double beeps. This tone confirms that the password has been reset.
- Now test the code, if you make a mistake and the new code will not work, simply start over with step 2.
TIP: Code Requirements
- Your code can be a minimum of 4 and a maximum of 6 digits. For your security, the safe will time out and sleep for five minutes if 5 incorrect entries are made. The safe can still be opened by using the backup keys override.
- Two keys cannot be pressed simultaneously.
- The default master code for upper layer is 1-2-3-4. And the default master code for bottom drawer is 5-6-7-8.
- Programming a new code will overwrite your previous code.
Registering Fingerprints
To Register Your Fingerprint, Locate the “Program” Button.
- With the safe open , press and hold the“PROGRAM” button (3 seconds), all keys (1-8) will light up once with one beep.
- Using the helpful programming tips provided on page 8place your finger on the fingerprint scanner for the 1st of four scans. Remove your finger after all keys (1-8) light up BLUE once with one short beep. Place finger again over the scanner until all keys (1-8) light up BLUE once with one short beep and lift. You will repeat this process until all keys (1-8) light up twice with the double beeps.
- Now your fingerprint has been successfully registered. If you make a mistake and the new fingerprint doesn’t work, you must repeat the above steps.
Helpful Programming TIPS:
- Place your finger on the center of the scanner (this allows the scanner to read where most of the fingerprint detail is located).
- Adjust your finger slightly between scans for increased accuracy.
- Excessive moisture, lotions, or dirt will affect your fingerprint and may cause inaccurate sensor reading.
- If you are experiencing difficulty try different fingers. Each finger is unique, and some fingers such as your thumb, contain more readable information than others.
- To increase your success rate, please register the same fingerprint multiple times.
Note:
- If all keys flash blue 5 times with 5 beeps, it means registration has failed and you must repeat the above steps.
- You cannot register more than 20 fingerprints. If the lightflashes 5 times with 10 beeps when you register once your fingerprint, it means the fingerprint storage capacity is full.
- Interior light will automatically illuminate for 30 seconds when the door is opened. After 30 seconds the light will automatically turn off.
Fingerprint Access
- Press anyone of button 1-4 at first, then put your finger on the fingerprint scanner to open the upper layer.
- Press anyone of button 5-6 at first, then put your finger on the fingerprint scanner to open the bottom drawer.
Delete the Registered Fingerprint
- Press and hold the program button (5-6 seconds) until all the keys flash twice with double beeps and let go.
- Now all registered fingerprints are erased.
IMPORTANT :
When only flash once with one beep, do not let go. You must hold the program button until the keys flash twice with double beeps, then release it.
Silence Mode Setting
To silence the audible sound of the electronics, hold the “1” button for 4 seconds until you see all keys will flash together. To unmute the keys, repeat this step.
Low Battery Warning
If all keys will light up blue 10 times with 10 times beeps when opening the safe by electronic way, your battery level is critically low and your safe needs to be replaced the 4 new batteries.
IMPORTANT: Use the NEW AA alkaline battery. Using other batteries may cause unusable conditions.
Securing Your Safe
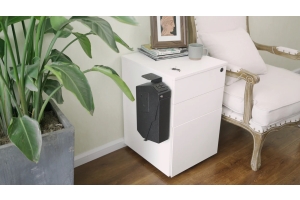
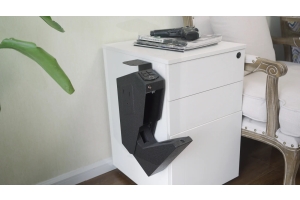
There are some mounting screws included to mount your RPNB® safe to a flat surface using the pre-drilled holes on the bottom.
Using the Mounting Screws
TIP: Make sure you have enough clearance for the lid to open properly before mounting the safe.
- Position the safe on a flat surface where you want to mount it.
- Use a pencil to mark the holes for drilling.
- Drill pilot holes.
- Position safe in place and install screws through safe into pilot holes. Tighten screws.
IMPORTANT
Mounting the safe vertically so that the door flips upward will result in incomplete opening of the safe due to weight. The door will open if the safe is mounted vertically so that door opens down or to side.

